Why a Home Dance Studio Is More Achievable Than You Think
If you’ve been putting off your dance practice because you don’t have a dedicated studio, here’s some good news: you don’t need a massive room or a huge budget to set up a functional, inspiring space to move. Learning how to set up a home dance studio in a small space is all about making smart choices with the square footage you already have. Whether you’re working with a spare bedroom, a garage corner, or even a cleared-out living room, this guide will walk you through everything you need to create a studio that actually works for you.
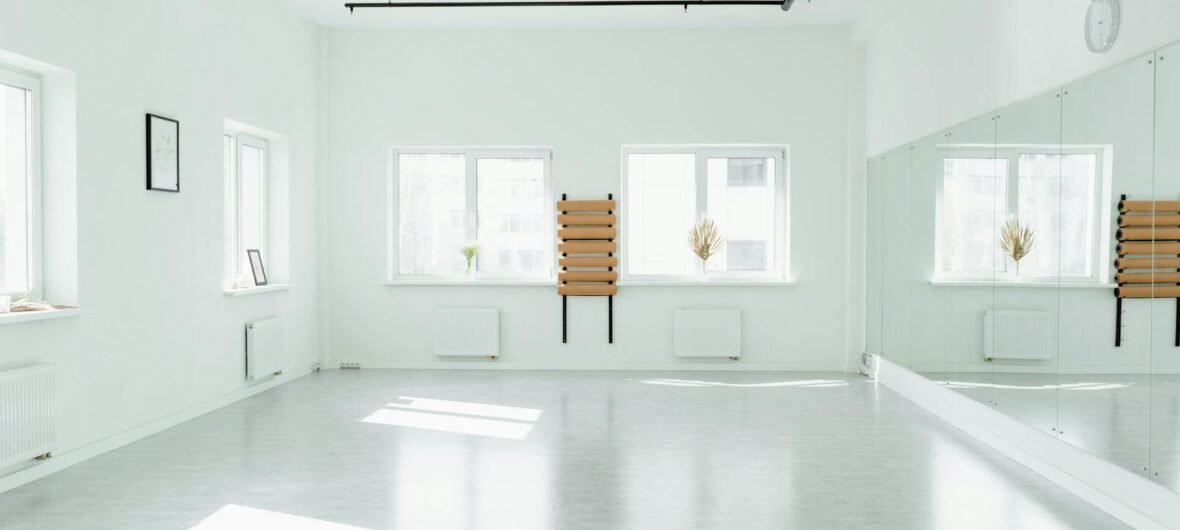
Step 1: Choose and Prepare Your Space
The first step is identifying the best available area in your home. You don’t need a dedicated room — a 10×10 foot area is enough to get started for most solo dance styles including ballet, contemporary, and hip-hop fundamentals.
- Clear the clutter: Remove furniture, rugs, and anything breakable from the perimeter. Even a living room can double as a dance space when cleared out.
- Check ceiling height: Aim for at least 8 feet of clearance, especially if you plan to do any jumps or overhead arm movements.
- Consider the room shape: A longer, narrower room works well for across-the-floor exercises, while a square room is ideal for center work.
- Evaluate natural light: Good lighting keeps you energized and helps you see your form. A room with windows is a bonus, but not essential.
Pro tip: If you share your home with others, establish a regular practice schedule so your studio time is respected and distraction-free.
Step 2: Choose the Right Flooring
Flooring is arguably the most critical element of any dance studio — and it’s one area where you absolutely shouldn’t cut corners. The wrong surface can cause joint pain, slipping, or injury over time.
Best Options for Small Home Studios
- Marley flooring: The gold standard for dance. Portable Marley floor rolls like the Greatmats Portable Dance Floor or Rosco Marley Floor can be laid down temporarily and rolled up when not in use — perfect for small spaces.
- Foam interlocking tiles: Budget-friendly and easy to install. Brands like BalanceFrom offer 3/4-inch foam tiles that provide cushioning for bare feet and low-impact styles.
- Hardwood or laminate: If you already have hardwood floors, you may be in luck. These surfaces work well for many dance styles, though they can be slippery for pointe work or socks.
Avoid carpet at all costs — it restricts footwork, causes friction burns, and makes turning nearly impossible. If carpet is your only option, lay a portable dance mat over it.
Step 3: Install Mirrors to Maximize Your Space
Mirrors do double duty in a home dance studio: they help you check your technique, and they visually double the size of your space. You don’t need floor-to-ceiling studio mirrors to make a big impact.
- Adhesive mirror tiles: Products like the NIUBEE Acrylic Wall Mirror Tiles (available on Amazon) are affordable, lightweight, and easy to arrange. A 3×3 grid gives you a solid reflection surface without permanent installation.
- Full-length leaning mirrors: A large leaning mirror (at least 65 inches tall) positioned against a wall is a great no-drill option for renters.
- Frameless glass mirrors: For a more permanent setup, frameless wall mirrors cut to size can be ordered from local glass shops and mounted with adhesive clips.
Position your mirror on the wall directly in front of your primary standing position. If space is tight, even one large mirror angled slightly will give you a wide enough viewing angle for most exercises.
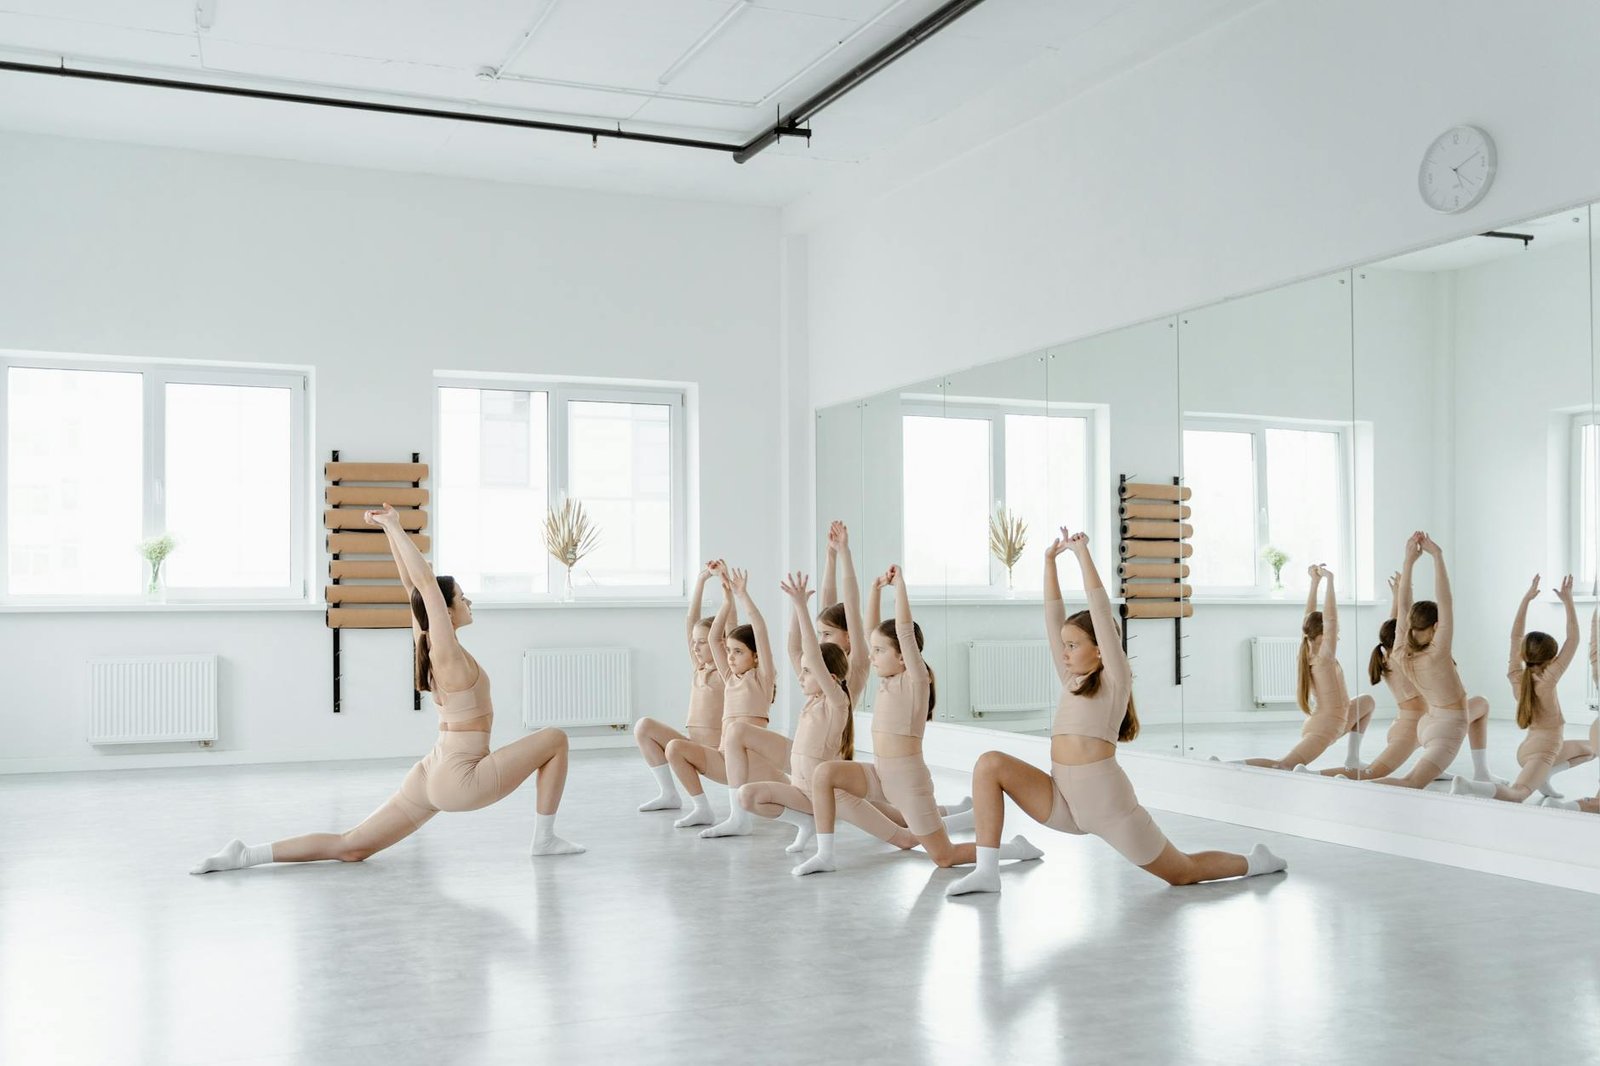
Step 4: Set Up a Portable Ballet Barre
Even if you’re not a ballet dancer, a barre is one of the most useful pieces of equipment you can add to a home studio. Barres are used in ballet, contemporary, fitness, and even yoga for balance, stretching, and warm-up work.
For small spaces, a freestanding portable barre is ideal because it can be moved or stored easily. Some great options include:
- Vita Vibe Portable Ballet Barre — adjustable height, sturdy, and trusted by dance schools
- Marjon Dancewear Portable Barre — lightweight aluminum design that’s easy to collapse and store
- Freestanding Adjustable Ballet Barre by Dance Gear — budget-friendly and available on Amazon
Look for a barre that adjusts to both single and double height (typically between 33–43 inches) so it can grow with your practice. Wall-mounted barres are another option if you’re willing to drill — they save floor space and tend to feel sturdier during supported work.
Step 5: Optimize Lighting and Sound
Creating the right atmosphere helps you stay motivated and makes your studio feel like a real creative space rather than just a corner of your living room.
Lighting
- Avoid harsh overhead lighting that creates unflattering shadows on your form. Opt for warm LED panels or adjustable smart bulbs like Philips Hue that let you shift from bright rehearsal light to a softer ambiance for cool-down stretches.
- Ring lights or LED studio lights positioned at eye level reduce shadows and make it easier to record yourself for self-review.
Sound
- A Bluetooth speaker with good bass response is a game-changer. The JBL Charge 5 or Sony SRS-XB43 are popular choices among home dancers for their full, room-filling sound.
- Use a music stand or wall mount to keep your phone or tablet at eye level, so you can follow tutorial videos without hunching over.
- If you live in an apartment, consider soundproofing foam panels on one wall to reduce noise complaints from neighbors — these also improve audio quality for recording.
Step 6: Smart Storage and Organization
A small studio lives and dies by its organization. Clutter kills creativity and can even become a safety hazard when you’re moving through space.
- Vertical storage: Mount shelves above head height to store speakers, notebooks, and accessories without eating into your floor area.
- Over-door hooks: Perfect for hanging resistance bands, ballet bags, and costume pieces.
- Rolling carts: A simple rolling cart (like the iconic IKEA RÅSKOG) gives you a movable station for dance shoes, props, and water bottles that can be wheeled out of the way in seconds.
- Shoe rack near the entry: Designate a spot for dance shoes only — keeping street shoes out protects your flooring and keeps the space intentional.
Step 7: Add the Finishing Touches That Keep You Inspired
The best home studio is one you actually want to spend time in. A few personal touches can make a huge difference in how motivated you feel to show up and practice.
- Hang a whiteboard or corkboard for choreography notes, class schedules, and goal-setting.
- Add a small plant or two — greenery improves air quality and adds a calming, natural energy to the room.
- Display a piece of dance artwork or a poster of a dancer you admire to remind yourself why you love this art form.
- Keep a practice journal nearby to log what you worked on, what clicked, and what needs more attention.
Start Dancing at Home Today
Setting up a home dance studio in a small space doesn’t require a huge investment or a professional renovation. With the right flooring, a mirror or two, a portable barre, and a great speaker, you can build a space that supports your growth as a dancer — no matter what style you love or what level you’re at.
Start with the basics, add pieces gradually, and most importantly, make it yours. Your studio should feel like a sanctuary where movement comes naturally and practice feels like play.
Ready to take the first step? Pick one item from this list — whether it’s rolling out a Marley floor or ordering a portable barre — and commit to setting it up this week. Share a photo of your home studio setup in the comments below, and let us know which tips helped you most. Happy dancing! 💃🕺