Why Arm Movements and Port de Bras Matter More Than You Think
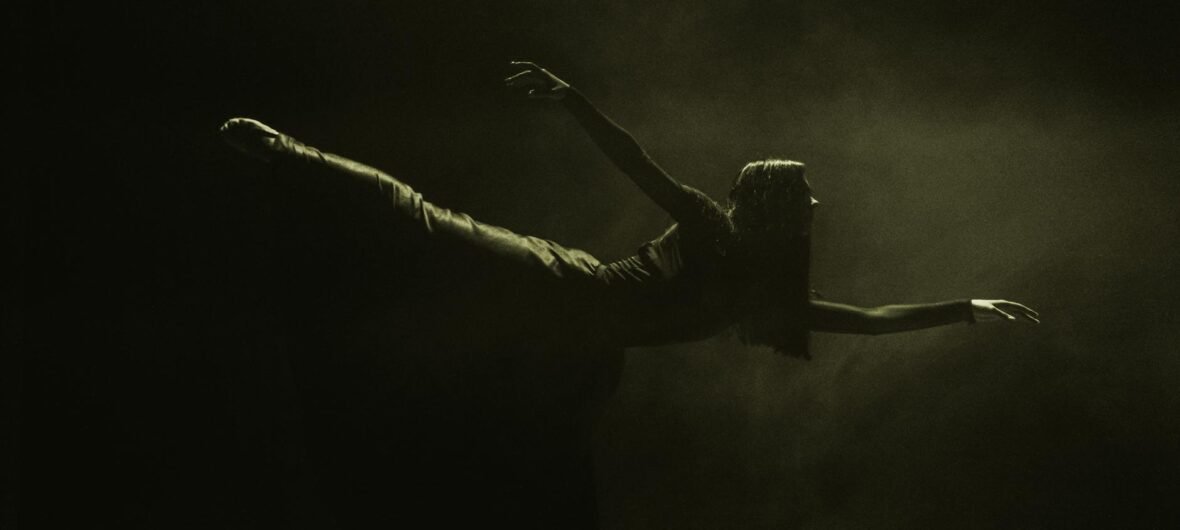
If you’ve ever watched a professional dancer glide across the stage, chances are it wasn’t just their footwork that held your attention — it was their arms. Beautiful, expressive arms can transform a technically correct performance into something truly breathtaking. Yet for many dancers, learning how to improve your arm movements and port de bras takes a back seat to footwork, jumps, and turns.
Port de bras, a French term meaning “carriage of the arms,” refers to the way a dancer moves and holds their arms in relation to the rest of their body. Whether you’re studying ballet, contemporary, lyrical, or even ballroom, mastering this skill is essential. The good news? With consistent practice and the right guidance, anyone can develop more fluid, expressive, and controlled arm movements.
Understand the Foundations: Basic Arm Positions
Before you can improve, you need to understand where your arms are supposed to be. In classical ballet, there are five primary arm positions (en bas, first, second, third, fourth, and fifth), but most dance styles have their own equivalent framework. Learning these positions is non-negotiable.
- En bas (preparatory position): Arms hang low and slightly rounded in front of your hips, like you’re gently holding a large balloon.
- First position: Arms rounded at chest height, fingertips nearly touching.
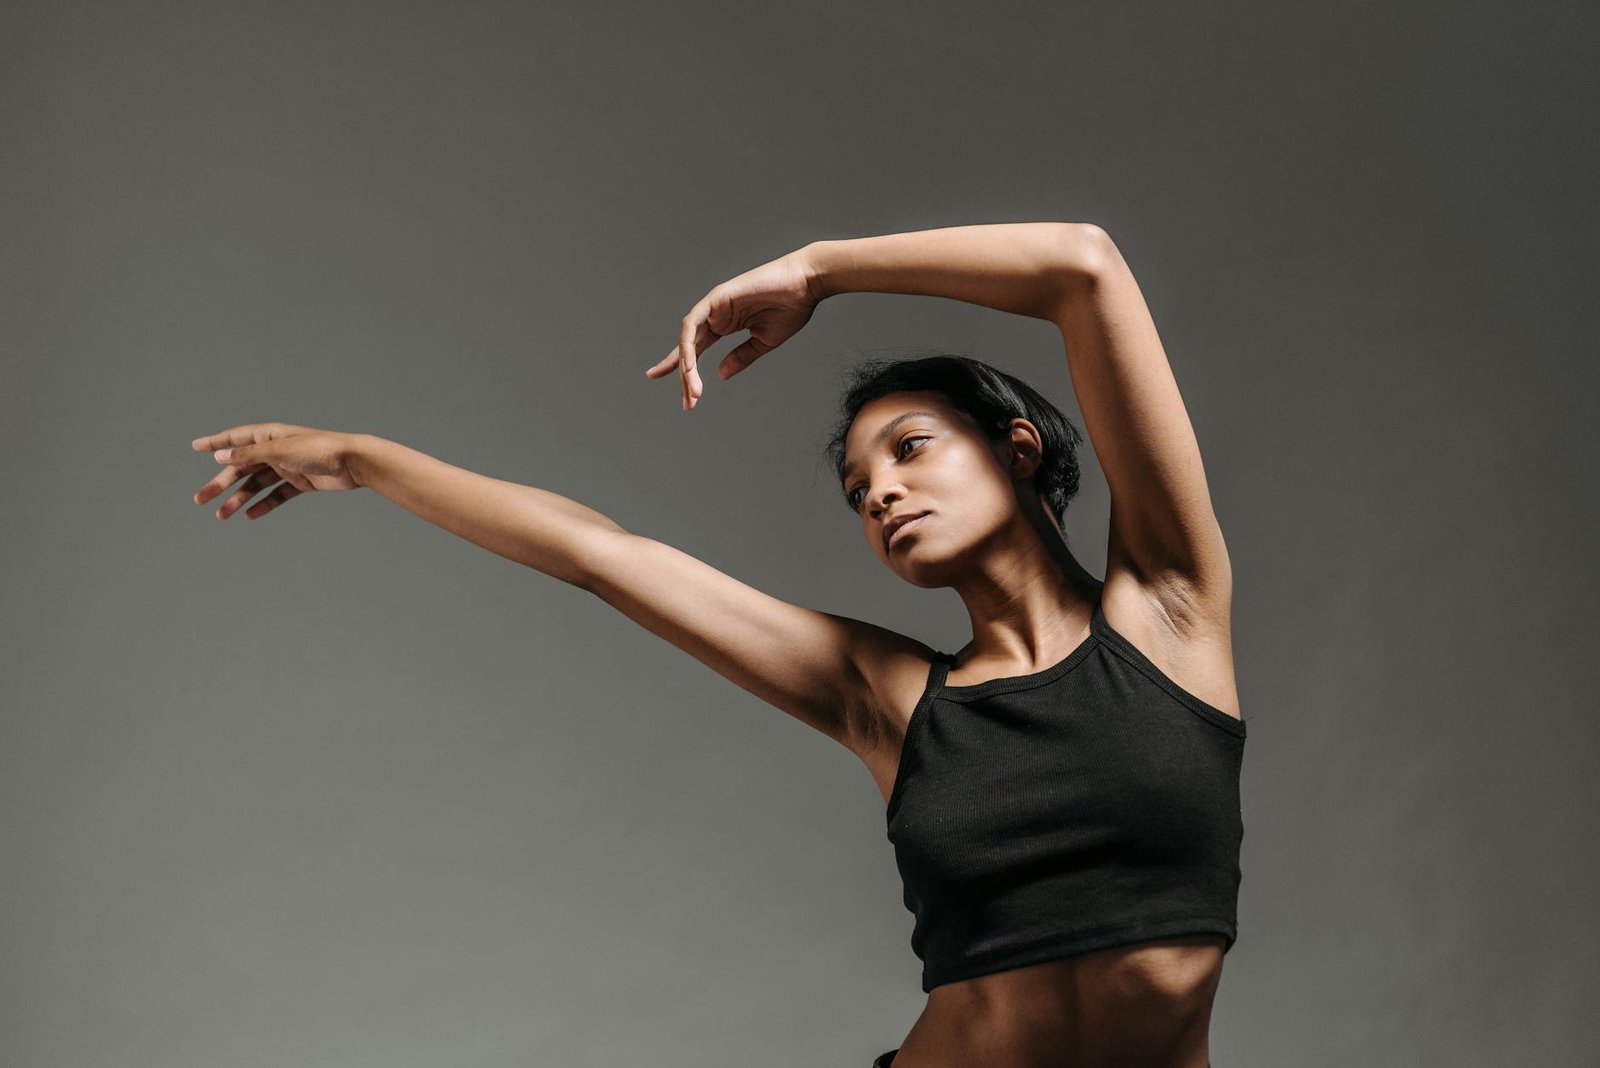
- Second position: Arms extended to the sides, slightly forward of the body’s plane, elbows softly bent.
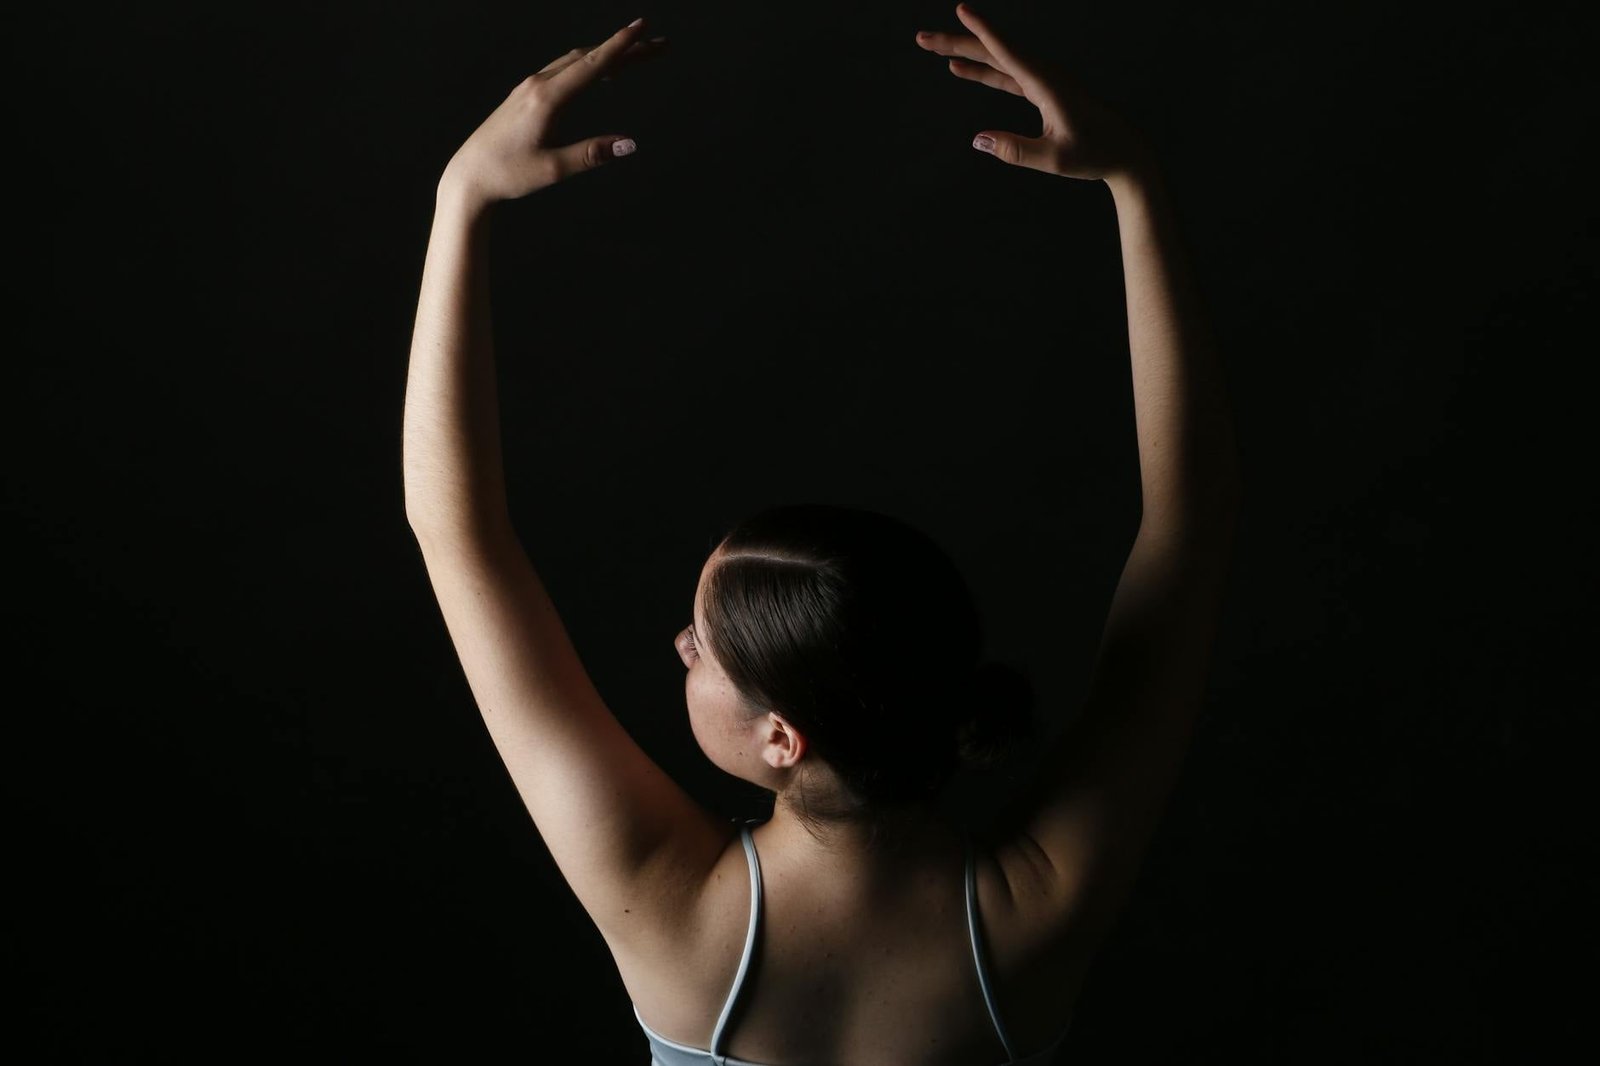
- Fifth position: Arms raised above the head in an oval shape, fingertips in line with the crown of your head.
Practice transitioning between these positions slowly in front of a mirror. You’re looking for smooth, connected movement — not robotic snapping from one pose to the next. A full-length mirror is your best practice partner here; the Neutype Full Length Mirror (available on Amazon) is a popular, affordable choice that many home-practice dancers swear by.
Engage the Right Muscles (It’s Not Just About Your Arms)
One of the most common mistakes beginners make is thinking that arm movement starts and ends at the shoulder. In reality, beautiful port de bras is initiated from the back and core. Your shoulder blades, lats, and even your ribcage all play a role in creating that lifted, flowing quality.
Here’s a simple drill to help you feel this connection:
- Stand tall with your feet in parallel, core gently engaged.
- Before you lift your arms, think about broadening across your collarbones and dropping your shoulder blades slightly down your back.
- Now slowly raise your arms from en bas to fifth position, keeping your shoulders away from your ears the entire time.
- Feel the difference? That lift comes from your back, not from shrugging your shoulders upward.
Strengthening your back and core with Pilates or targeted exercises will make this feel more natural over time. A resistance band set like the Fit Simplify Resistance Loop Bands (widely available on Amazon) is great for shoulder and back strengthening exercises that directly support better port de bras.
Use Your Hands and Fingers Intentionally
Your hands are the final punctuation mark on every arm phrase. Floppy, limp fingers or overly rigid, splayed hands can undermine even the most beautifully shaped arms. Here’s how to find the right balance:
- Soft, natural curve: Imagine holding a delicate soap bubble. Your fingers should be gently curved, with the middle finger leading slightly lower than the rest.
- Avoid “dead” wrists: Your wrist should flow as a natural extension of your forearm, neither collapsed nor forced upward.
- Lead with energy through the fingertips: Think of energy traveling all the way from your back, through your arms, and out through the tips of your fingers. This mental image alone changes how your movement looks on stage.
Practice slowly rolling through your wrists during port de bras exercises — this “wristing” technique (used heavily in contemporary and lyrical styles) helps you develop wrist flexibility and control simultaneously.
Practice Port de Bras Exercises Daily
Like any physical skill, consistency is everything. Here are three practical exercises to add to your daily warm-up or cool-down routine:
1. The Slow-Motion Run-Through
Choose a simple 8-count arm sequence (en bas → first → second → fifth → back to en bas). Set a timer and perform the sequence as slowly as possible. This challenges your muscular control and forces you to notice where you rush or lose alignment.
2. Mirror Shadowing
Watch a short clip of a dancer you admire performing a lyrical or ballet combination. Then shadow their arm movements in real time, focusing only on the arms. Repetition builds muscle memory, and studying a skilled mover trains your eye for quality.
3. Port de Bras to Music
Put on a slow, expressive piece of music — something classical or cinematic works beautifully — and improvise with your arms only. Don’t think, just respond. This exercise develops musicality and helps your arms become an expressive tool rather than an afterthought.
Stretch and Strengthen for Greater Range and Grace
Tight shoulders and a stiff upper back are the enemies of flowing port de bras. Incorporating regular stretching into your routine will open up your range of motion dramatically over time.
- Doorway chest stretch: Place your forearms against a door frame at shoulder height and gently lean forward to open the chest. Hold for 30 seconds.
- Thread-the-needle stretch: From a tabletop position, slide one arm along the floor beneath the opposite arm to stretch the upper back. This is a game-changer for spinal rotation.
- Shoulder rolls and pendulum swings: Use these as warm-up moves every single session to keep the shoulder joint loose and mobile.
A quality foam roller can also help release tension in the thoracic spine, which directly impacts how freely your arms can move. The TriggerPoint GRID Foam Roller is a highly rated option on Amazon that many dancers incorporate into their recovery routines.
Record Yourself and Seek Feedback
There is no faster way to improve than to actually see what you’re doing. Set up your phone on a tripod — the UBeesize Phone Tripod on Amazon is a budget-friendly option perfect for dance practice — and record yourself performing combinations or exercises. Then watch it back critically.
Ask yourself:
- Are my shoulders staying down and relaxed?
- Is the movement flowing smoothly from one position to the next, or is it jerky?
- Do my arms feel connected to my body, or do they look disconnected from the rest of my movement?
- Are my hands and fingers expressive but not overworked?
If you have access to a teacher, even occasional feedback in a class or private lesson will accelerate your progress enormously. Online platforms like Steezy Studio or ballet-focused streaming sites also offer instructional content specifically targeting port de bras technique.
Be Patient and Make It Personal
Finally, remember that beautiful arm movement is as much about artistry as technique. The mechanical foundations matter — alignment, muscle engagement, position accuracy — but what makes port de bras truly captivating is when a dancer inhabits the movement fully and makes it their own. Don’t be discouraged if progress feels slow. Every class, every practice session, every moment you spend paying deliberate attention to your arms is depositing into your dance bank account.
Celebrate small wins: the first time your transition from second to fifth feels completely smooth, or the moment a teacher says your arms look “more alive.” These moments add up.
Start Improving Your Port de Bras Today
Now you have everything you need to take your arm work to the next level. Understanding how to improve your arm movements and port de bras comes down to learning the foundational positions, engaging the right muscles, stretching consistently, and practicing with intention every single day.
Pick just one or two tips from this guide and commit to working on them this week. Set up your mirror, grab your resistance bands, hit record on your phone, and get moving. Your arms are waiting to tell a story — it’s time to let them.
Found this guide helpful? Share it with a fellow dancer, bookmark it for your next practice session, and drop a comment below telling us which tip you’re going to try first. We’d love to hear from you!