Why Every Dancer Needs a Home Ballet Barre
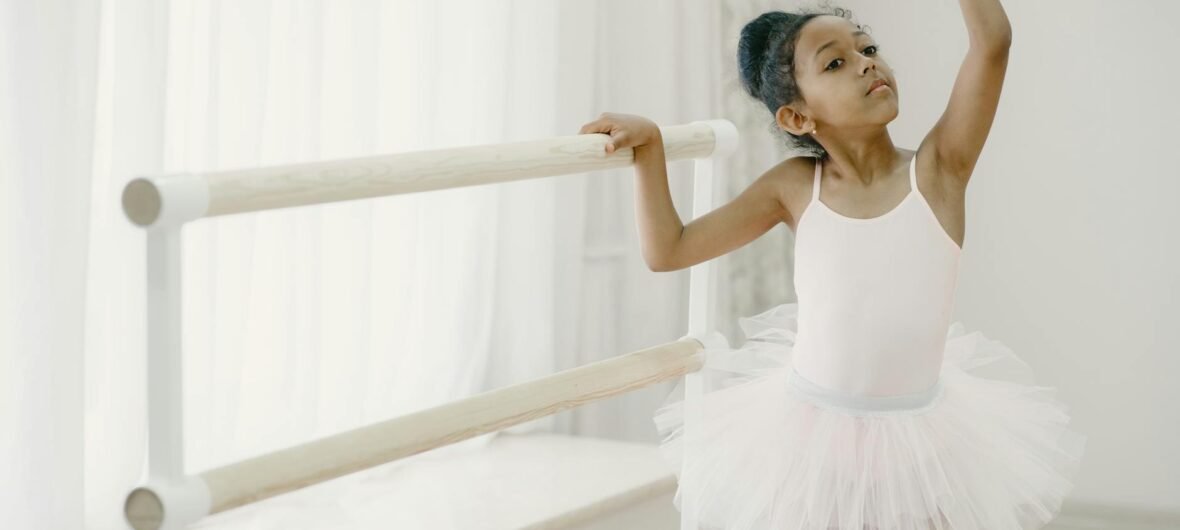
If you’ve been taking ballet, contemporary, or barre fitness classes, you already know how essential that horizontal rail is to your practice. It supports your balance during pliés, tendus, and développés, helps you build muscle memory, and gives you the confidence to push your technique further. But studio time is expensive, and commuting back and forth just to squeeze in a 20-minute warm-up isn’t always realistic.
The good news? Learning how to build a home ballet barre for under $100 is entirely achievable — even if you’ve never picked up a power drill before. With a quick trip to your local hardware store and a free afternoon, you can have a sturdy, professional-feeling barre in your living room, garage, or home studio. Let’s walk through everything you need to know.

Freestanding vs. Wall-Mounted: Which Type Should You Build?
Before you buy a single bolt, you need to decide which style of barre suits your space and lifestyle. Both options can be built for under $100, but they serve slightly different needs.
- Freestanding barres are portable, require no wall damage, and can be moved from room to room or stored away easily. They’re ideal for renters or anyone with limited dedicated space.
- Wall-mounted barres are rock-solid, take up zero floor space, and feel closest to a professional studio setup. They’re perfect if you have a dedicated dance area and are comfortable making minor modifications to your walls.
For most beginners and intermediate dancers, a freestanding PVC barre is the most budget-friendly and flexible starting point. That’s what we’ll focus on primarily in this guide, with notes on wall mounting along the way.
Materials and Tools You’ll Need (Full Shopping List)
One of the best things about this project is that nearly everything can be found at Home Depot, Lowe’s, or on Amazon. Here’s a typical materials list for a single-height freestanding barre approximately 5 feet wide:
PVC Pipe and Fittings
- 1.5-inch diameter PVC pipe — two 10-foot lengths (usually around $8–$10 each)
- 4 x PVC elbow fittings (90°) — compatible with 1.5-inch pipe
- 4 x PVC tee fittings — for the base feet
- 4 x end caps — to finish off the base feet cleanly
- PVC primer and cement (small cans, ~$8 combined)
Optional Upgrades
- Pipe insulation foam wrap — adds a softer, more comfortable grip surface (available on Amazon for under $10)
- Non-slip rubber feet pads — keeps your barre from sliding on hardwood or tile
- Spray paint in a color of your choice — gives the barre a finished, professional look
Tools Required
- PVC pipe cutter or hacksaw
- Measuring tape
- Marker or pencil
- Sandpaper (light grit, optional but recommended)
Total estimated cost: $45–$75, leaving you room in your $100 budget for those comfort upgrades.
Step-by-Step Instructions: Building Your Freestanding PVC Barre
Follow these steps carefully and you’ll have a functional barre in about 60–90 minutes.
Step 1: Measure and Cut Your Pipes
Standard ballet barre height is between 40 and 42 inches for adults, though you may want to measure from your hip to ensure a comfortable fit. For the base feet, cut four pieces at 18 inches each — this gives the barre a stable, wide footprint. Cut two additional pieces at the same length for the horizontal crossbars at the base. Your main horizontal rail should be cut to your desired width — 5 feet (60 inches) is a great all-purpose length.
Step 2: Dry-Fit Everything First
Before applying any cement, assemble the entire barre without glue. This lets you catch any measurement errors and make sure everything lines up correctly. The basic structure looks like two upside-down “T” shapes connected by your long horizontal rail at the top.
Step 3: Glue and Set
Apply PVC primer to each joint area first — this is a crucial step that many beginners skip, but it ensures a strong, lasting bond. Follow immediately with PVC cement. Press each fitting firmly into place, give it a quarter turn to spread the cement evenly, and hold for about 30 seconds. Let the entire structure cure for at least 2 hours before putting any weight on it.
Step 4: Add the Finishing Touches
Once fully cured, slide your foam pipe insulation wrap over the main horizontal rail for a comfortable grip. Secure it with a little electrical tape at each end if needed. Attach rubber non-slip feet to the bottom of your base pipes, and if you want to paint it, a light sanding followed by two coats of spray paint gives a sleek, studio-worthy finish.
Wall-Mounted Barre: A Quick Overview
If you’d prefer a wall-mounted setup, the process is simpler than you might think. You’ll need:
- A wooden dowel rod or a steel pipe (1.5-inch diameter) cut to your desired length
- Two heavy-duty pipe flanges and brackets — the Keeney 1-1/2 inch pipe flange or similar hardware store options work well
- Lag bolts long enough to anchor into wall studs
The most important rule with wall mounting: always screw into studs, not just drywall. A dancer can put significant lateral and downward force on a barre, and anchoring into studs is the only safe option. Use a stud finder (available on Amazon for under $20) before drilling a single hole. Mount the brackets at your desired height, attach your rail, wrap with foam insulation, and you’re done — often for as little as $40–$60 total.
Safety Tips to Keep in Mind
Your barre is a training tool, and safety should always come first. Here are a few things to keep in mind once your barre is built:
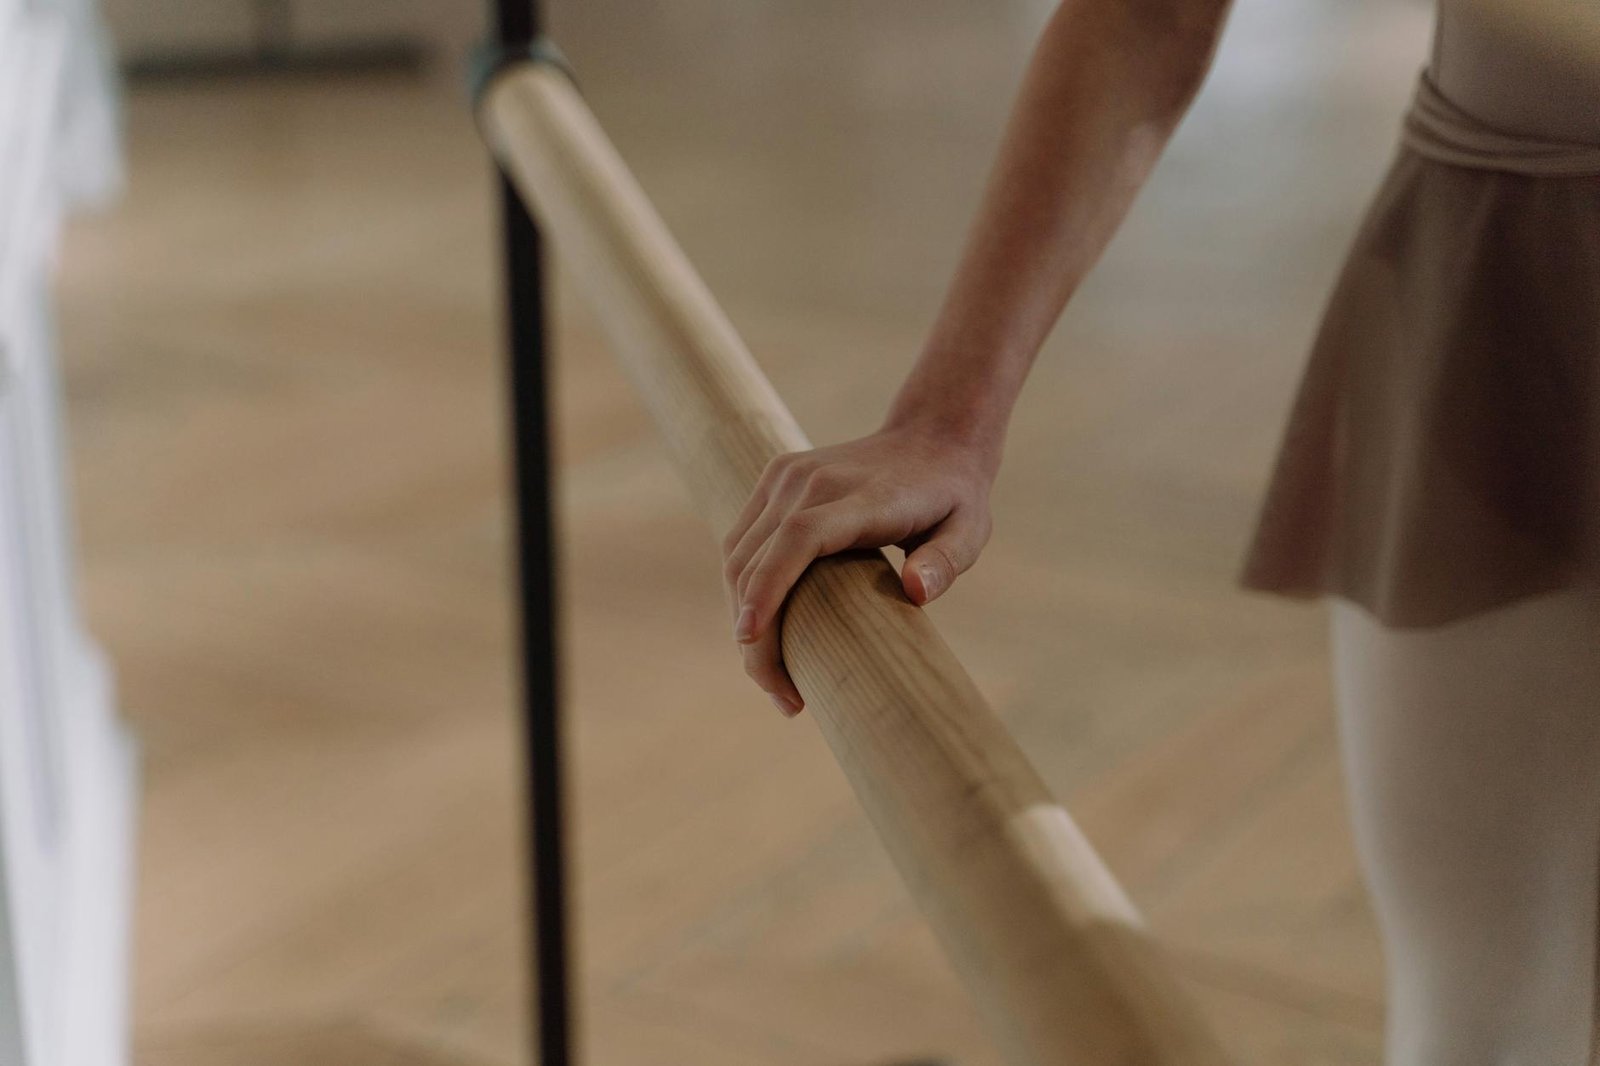
- Test the barre before your first full use. Apply firm downward and lateral pressure by hand before attempting any exercises. A well-built PVC barre should feel solid without any wobbling.
- Use a proper dance surface. Avoid practicing on fully carpeted floors if possible — a Marley dance floor mat, like the popular Greatmats Marley Dance Flooring, provides the right amount of grip and slip for ballet work. These can be found on Amazon in various sizes.
- Don’t hang or jump on a freestanding PVC barre. PVC is excellent for supported balance work but is not designed to bear full body weight from above. If you need a pull-up or hanging bar, that’s a different project entirely.
- Check connections periodically. Over time, PVC joints can loosen slightly, especially on a freestanding barre. A quick visual inspection before each use takes only seconds.
Recommended Brands and Products Worth Knowing
While your DIY barre will serve you beautifully, there are a few companion products that can genuinely elevate your home practice without breaking the bank.
- Body By Yoga Ballet Barre Mat — a lightweight, portable mat designed specifically for barre work, available on Amazon around $30–$40.
- Gaiam Resistance Bands — perfect for supplementing barre exercises with targeted strengthening work.
- Capezio or Bloch ballet slippers — investing in proper footwear makes a huge difference in technique and prevents injury.
If you’d rather skip the DIY route entirely and opt for a pre-made option, the Freestanding Portable Ballet Barre by Vita Vibe is a highly-rated choice that often falls just at or slightly above the $100 mark depending on current pricing — and it’s worth knowing about as a comparison point.
Start Dancing at Home Today
Building a home ballet barre for under $100 is one of the most rewarding investments a dancer can make. It removes the barriers between you and consistent practice, lets you warm up on your own schedule, and gives your living space that little touch of studio magic. Whether you go freestanding or wall-mounted, PVC or wood, the effort you put in today will pay off in every plié and arabesque you perform going forward.
Ready to get started? Grab your measuring tape, head to your nearest hardware store, and tag us in your finished barre photos — we’d love to see your home studio taking shape! And if you found this guide helpful, explore the rest of our site for more tips on home dance spaces, beginner technique guides, and gear reviews designed specifically for passionate dancers like you.