Why Filming Yourself Dancing Is a Game-Changer
If you’ve never watched yourself dance on video, you’re missing one of the most powerful tools in a dancer’s toolkit. Mirrors show you a real-time reflection, but video gives you something far more valuable — an honest, replayable record of exactly what your body is doing. Learning how to film yourself dancing for self-review properly can accelerate your growth faster than almost any other practice habit. Whether you’re a beginner just finding your rhythm or an intermediate dancer polishing your technique, these tips will help you get the most out of every recording session.
Choose the Right Device and Stabilization Setup
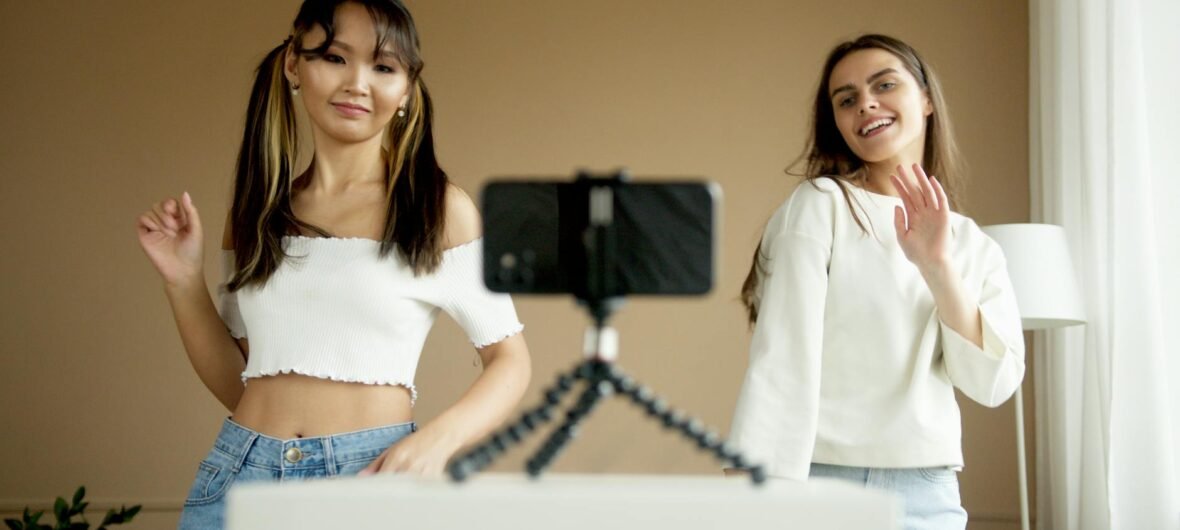
You don’t need a professional camera to film great dance footage, but you do need a stable, reliable setup. Most modern smartphones — including the iPhone 14/15 series or Samsung Galaxy S series — shoot in 1080p or even 4K, which is more than enough detail to spot technical issues in your movement.
The biggest mistake dancers make is propping their phone against a water bottle or leaning it on a chair. This leads to shaky, awkward angles that make self-review frustrating. Instead, invest in a solid tripod. The UBeesize 67-inch Phone Tripod (available on Amazon) is a popular, budget-friendly option that lets you adjust height easily and works with both portrait and landscape orientation. For more flexibility, a Joby GorillaPod is a flexible mini tripod that wraps around poles, chairs, or railings — perfect for smaller spaces.
- Use a tripod or stable mount at all times
- Make sure your device is fully charged before filming
- Enable “Do Not Disturb” mode to avoid interruptions mid-take
- Use your phone’s built-in timer or a Bluetooth remote shutter to start recording hands-free
Master the Angles That Actually Matter
Camera angle can completely change what you see — and what you miss. Filming only from one angle limits your self-review significantly. Here’s a breakdown of the most useful angles for dancers:
Front-Facing (0°)
This is the most common setup and the best for reviewing arm lines, facial expression, and overall symmetry. Place your camera at roughly chest to eye level for the most natural perspective. Filming from floor level makes your legs look longer but distorts your upper body, so save that for artistic shots rather than technical review.
Side Profile (90°)
A side angle is essential for checking posture, core engagement, and the depth of your movements. Many dancers are shocked to discover their back is rounded or their hips are tucked under when they finally film from the side. Set up a second device or film multiple takes from different angles.
Diagonal (45°)
A 45-degree angle captures both depth and width, making it a well-rounded option when you only have time for one setup. This is also closest to how an audience typically sees a performer on stage.
Pro tip: If you have a second phone or an old tablet, use both simultaneously to capture two angles in a single run-through. Sync them with a clap at the start for easy alignment during review.
Get Your Lighting Right Without Spending a Fortune
Poor lighting is the number one reason dance videos look unclear and are hard to analyze. If your studio, living room, or rehearsal space has dim overhead lights, your footage will be grainy and your lines will be hard to read — especially in darker clothing.
Natural light from a large window is your best free resource. Position yourself so the light hits you from the front or slightly to the side — never from behind, or you’ll appear as a silhouette. If you’re filming in the evening or in a windowless space, a simple ring light makes a dramatic difference. The Neewer 18-inch LED Ring Light is a favorite among dancers and content creators on Amazon and provides even, flattering illumination that doesn’t create harsh shadows.
- Avoid filming with a bright window directly behind you
- Wear colors that contrast with your background for better visibility
- Test your lighting by recording a 10-second clip before your full take
Set Up Your Space for Maximum Visibility
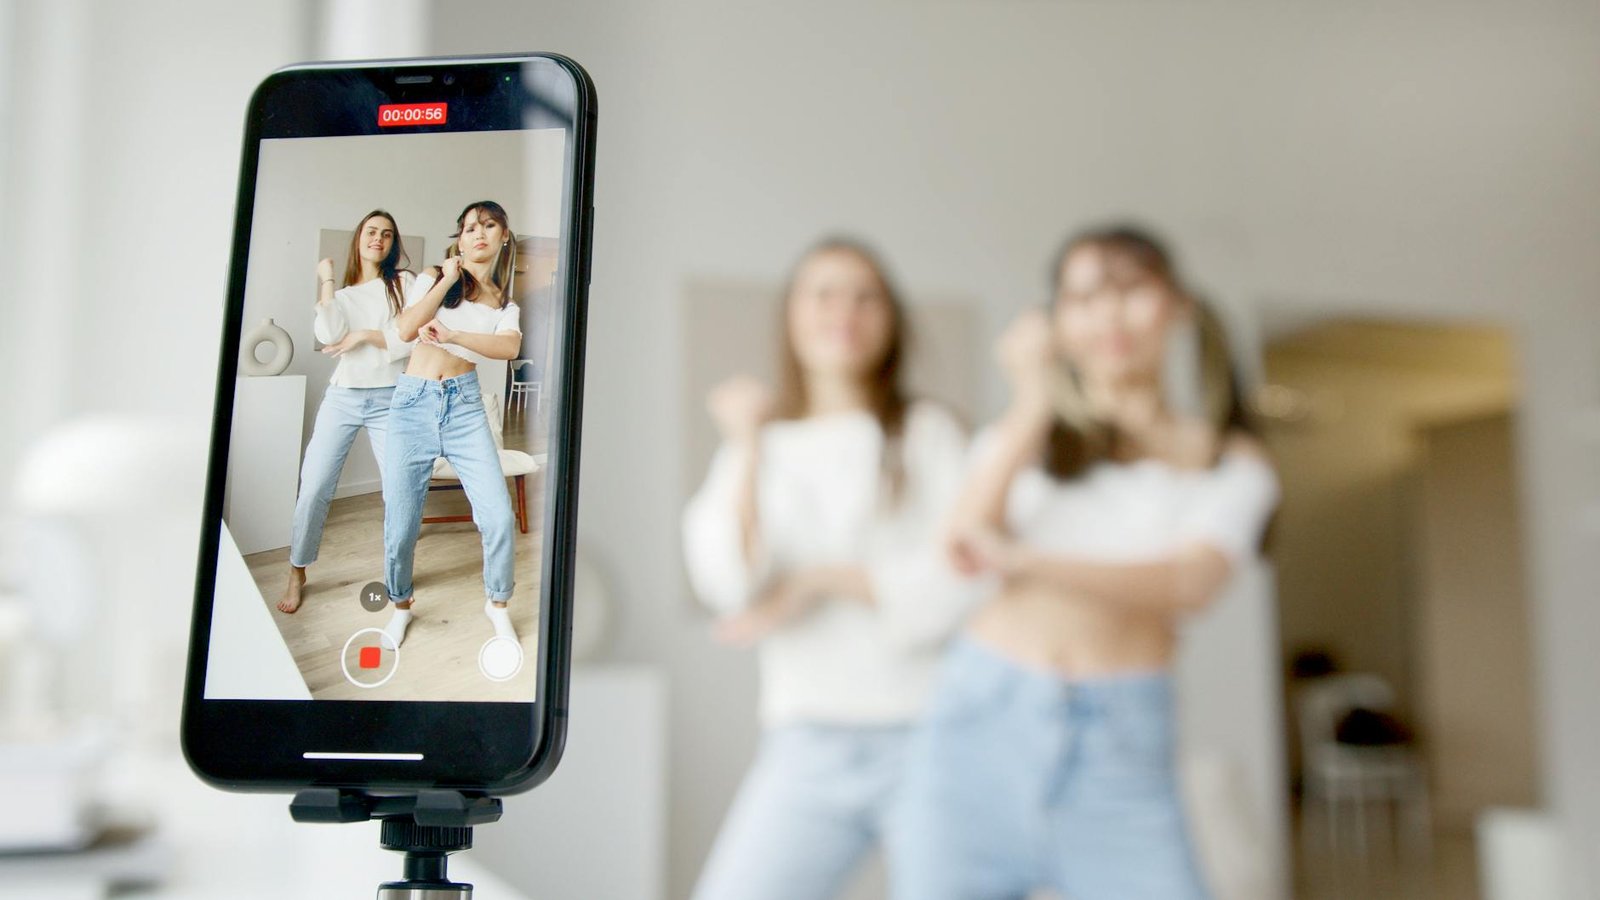
Even with great lighting and a steady camera, a cluttered background or tight space will compromise your self-review. You want to be able to see your full body — from the top of your head to the tips of your toes — in every frame.
Before you hit record, walk through your choreography and watch how close you come to the edges of the frame. A common mistake is setting up the camera too close, cutting off feet or arms during turns and extensions. Step back further than you think you need to. If you’re working in a small apartment, consider filming in landscape (horizontal) mode to capture more horizontal space.
Keep the background as clean and neutral as possible. A plain wall, a curtain, or even a cleared-out corner works well. A messy background is visually distracting during review and makes it harder to focus on your body alignment.
How to Actually Review Your Footage Effectively
Filming is only half the process — how you watch the footage is where the real learning happens. Many dancers record themselves, cringe, close the app, and never go back. Don’t let that be you.
Watch Without Judgment First
Play the video through once without pausing or commenting. Get used to seeing yourself move. This first watch is about building familiarity, not critique.
Watch in Slow Motion
Most smartphones have a built-in slow-motion playback feature, and it’s incredibly revealing. Slow-mo shows you exactly when you’re late on a beat, where your weight shifts, and whether your transitions are clean or sloppy. Use this for footwork-heavy styles like tap, hip-hop, and ballroom.
Focus on One Thing at a Time
Don’t try to fix everything at once. On your first review pass, watch only your arms. On the second, watch your feet. On the third, focus on your facial expression and performance quality. Breaking it down like this prevents overwhelm and makes your notes actionable.
Compare Side-by-Side With a Reference
If you’re learning from a tutorial or a choreographer, pull up their video next to yours on a split screen. Apps like Coach’s Eye or Hudl Technique (both available on iOS and Android) let you do exactly this and even draw annotations on top of the footage.
Build a Consistent Filming Habit That Sticks
The most effective self-review practice isn’t a one-time thing — it’s a weekly or even per-session habit. Here’s a simple routine you can start this week:
- Before class or practice: Set up your filming space and test your angle and lighting in under 5 minutes
- During practice: Record at least one full run-through of whatever you’re working on
- After practice: Watch the footage the same day while the session is fresh in your mind
- Weekly: Keep a short video journal to compare your progress over time — nothing motivates like seeing how far you’ve come
Storing your videos in a dedicated folder or Google Drive album makes it easy to track your progress over weeks and months. Watching your early recordings after six months of consistent practice is one of the most rewarding experiences a dancer can have.
Start Filming Today and Watch Yourself Grow
Learning how to film yourself dancing for self-review isn’t complicated, but it does require a little intention and the right setup. A steady tripod, good lighting, a thoughtful camera angle, and a structured review process can transform the way you see and improve your dancing. You don’t need a professional studio or expensive gear — just a smartphone, a clear space, and the willingness to be honest with yourself.
So grab your phone, clear some space, and hit record on your next practice session. Your future self — the dancer who moves with confidence and precision — will thank you for starting today.
Ready to level up your practice? Share your filming setup in the comments below, or tag us in your self-review clips on social media. We’d love to see how you’re using these tips!