
Why Breaking In Dance Shoes the Right Way Matters
There’s nothing quite like unboxing a brand-new pair of dance shoes — that sleek leather, the perfectly formed heel, the promise of flawless footwork. But within minutes of hitting the studio floor, reality strikes: stiffness, pinching, and blisters you definitely didn’t sign up for. If you’re wondering how to break in new dance shoes faster, you’re in the right place.
Breaking in dance shoes isn’t just about comfort — it’s about performance and injury prevention. Stiff, unbroken shoes can alter your posture, restrict movement, and even cause long-term foot problems. The good news? With a few smart techniques, you can dramatically speed up the process without damaging your investment.
1. Wear Them Around the House First
This is the golden rule of breaking in any new footwear, and dance shoes are no exception. Before you ever step onto the dance floor, spend time wearing your new shoes around the house for 30 to 60 minutes a day. Walk around, do some light stretches, even practice a few basic steps in the living room.
The body heat and natural movement will gradually soften the materials without exposing the shoes to the full stress of a dance class. This is especially effective for leather ballroom shoes and character shoes, which tend to be the stiffest out of the box.
- Wear them with the same type of socks or tights you’d use in class
- Focus on flexing your toes and bending at the ball of the foot
- Try gentle relevés and pliés to work the sole
2. Use a Shoe Stretcher or Stretching Spray
If your shoes feel tight across the width or at the toe box, a shoe stretcher can be a game-changer. Wooden or plastic shoe stretchers (you can find great options on Amazon, like the FootFitter Premium Professional 2-Way Shoe Stretcher) can be inserted overnight to gently expand the shoe without warping its shape.
Pair this with a shoe stretching spray — products like Kiwi Select Shoe Stretch or Fiebing’s Shoe Stretch Spray are popular picks among dancers. Spray the inside of the shoe, insert the stretcher, and let it work overnight. Repeat for two or three nights for noticeably more room.
Pro tip: Focus the spray on pressure points — areas where you feel the most pinching or rubbing. Never oversaturate leather, as too much moisture can cause warping.
3. Apply Leather Conditioner to Soften the Material
For dancers rocking leather ballet flats, jazz oxfords, or ballroom heels, a quality leather conditioner is one of the fastest ways to soften stiff shoes. Products like Leather Honey Leather Conditioner (a top-rated choice on Amazon) penetrate deep into the leather, making it more pliable and supple from the very first application.
Here’s how to do it:
- Clean the shoes with a soft, dry cloth to remove any dust
- Apply a small amount of conditioner using a soft cloth or sponge
- Work it in gently using circular motions
- Let the shoes absorb the conditioner for several hours before wearing
Not only will this speed up the break-in process, but it will also extend the lifespan of your shoes significantly — a win-win for any dancer on a budget.
4. Use the Warm Water Trick (Carefully!)
This technique is a bit more advanced, so proceed with caution. The warm water method works particularly well for canvas ballet shoes and some jazz sneakers. Here’s the basic approach:
- Put on a thick pair of socks
- Dampen — don’t soak — the areas of the shoe that feel tight
- Put the damp shoes on and walk or dance in them until they dry
As the material dries, it molds to the unique shape of your foot, creating a custom-like fit. Do not use this method on leather shoes unless you’re using a product specifically formulated for wet-molding leather, as excess water can cause cracking and deterioration.
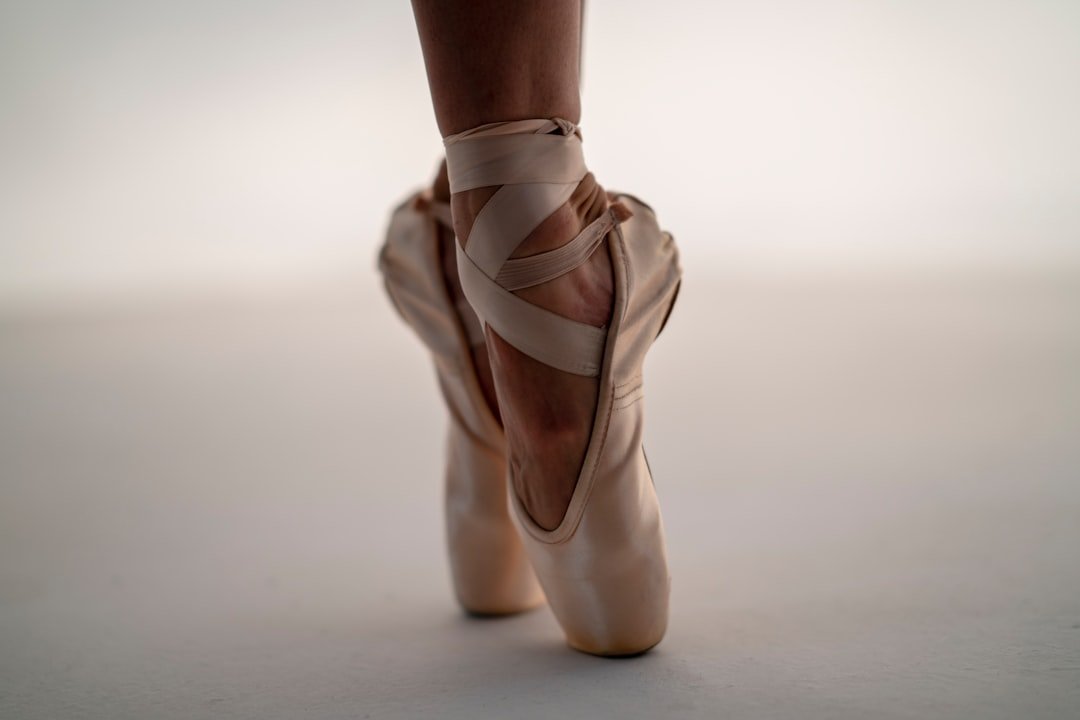
For pointe shoes, many dancers use a similar controlled dampening technique — but always consult with your dance teacher or fitter before attempting this on expensive pointe shoes like Bloch Suprima or Capezio Donatella.
5. Use Moleskin and Gel Inserts to Protect Hot Spots
Breaking in shoes doesn’t mean you have to suffer through blisters. While you’re in the process, protect your feet with moleskin padding and gel inserts. These create a buffer between your skin and the stiff shoe material, letting you wear the shoes longer without pain — which ironically speeds up the break-in process because you can wear them more consistently.
Some dancer-favorites include:
- Dr. Scholl’s Blister Defense Stick — a friction-reducing balm you apply directly to your skin
- Capezio H07 Bunheads Gel Toe Pads — perfect for the toe box area
- ZenToes Moleskin Padding Sheets — customizable and easy to cut to shape
Place moleskin on any areas where you feel rubbing — typically the heel, the sides of the toe box, and the ball of the foot for heeled shoes.
6. Flex and Bend the Soles Manually
One of the simplest and most overlooked tips is manual flexing. Before you even put the shoes on, bend and flex the soles with your hands. Hold the shoe at the heel and toe, and gently curve it into a bend, mimicking the natural movement of your foot. Repeat this several times on both sides.
This is especially helpful for:
- Tap shoes with stiff leather soles
- Flamenco shoes that have thick, hard soles
- Latin dance shoes with a structured shank
You can also gently twist the shoe from side to side to loosen up the upper. Think of it as giving your shoes a warm-up before they warm up your dancing. Do this every day for the first week and you’ll notice a significant difference in flexibility.
7. Gradually Increase Wear Time During Practice
One of the biggest mistakes dancers make is wearing brand-new shoes for an entire 90-minute class right away. Your feet — and your shoes — need time to adjust. Instead, use a progressive wear schedule:
- Days 1–3: Wear at home for 30–45 minutes
- Days 4–6: Wear for the first half of class, then switch to your old shoes
- Week 2: Wear for full classes, monitoring for pressure points
This gradual approach gives the shoe materials time to soften and mold without putting your feet through unnecessary trauma. It also helps you identify specific problem areas early so you can address them with the stretching and padding techniques above before they become serious blisters.
Final Thoughts: Happy Feet = Better Dancing
Learning how to break in new dance shoes faster is truly one of the most valuable skills a dancer can develop. The right shoes, properly broken in, can elevate your technique, protect you from injury, and make every class something you genuinely look forward to. By combining home wear, conditioning, strategic padding, and gradual use, you can go from stiff and painful to fluid and comfortable in a fraction of the time.
Remember, every dancer’s foot is unique, so don’t be afraid to mix and match these methods until you find what works best for you. And always invest in quality shoes from reputable brands like Bloch, Capezio, Sansha, or Very Fine Dance Shoes — shoes built for movement will always break in more naturally than cheap alternatives.
Ready to step up your dance game? Share this post with a fellow dancer who’s struggling with stiff new shoes, and drop a comment below telling us your favorite break-in trick — we’d love to hear from you!